How to paint a blaster
During the last weeks I have been busy with my spray can and brush to give you a good overview of the different techniques in the field of painting and varnishing.
This post serves as an overview of all steps and techniques. All steps will be described in detail in separate blog posts over the next weeks. These articles will of course also be linked here later.
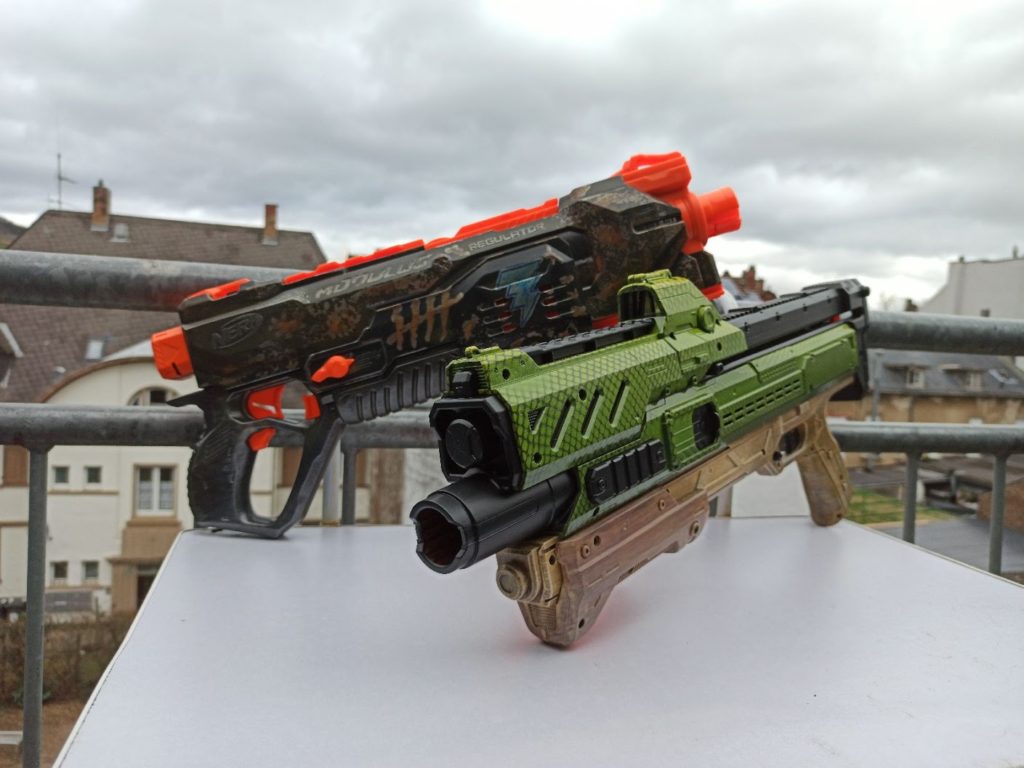
I used a Nerf Regulator to demonstrate the most common techniques for some larp or cosplay blasters and my X-Shot Orbit for a few more techniques. Also, my Orbit remains what is often referred to in the scene as „factory new“. So it’s a paintjob without any wear and tear, executed as accurate as possible.
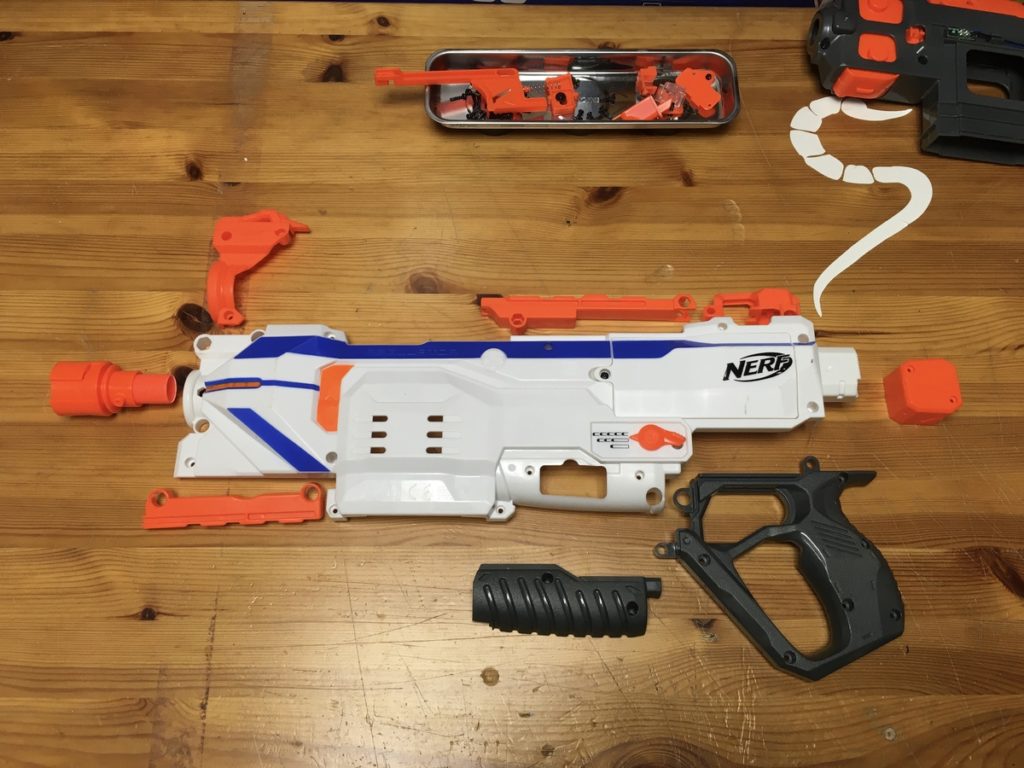
Preparations:
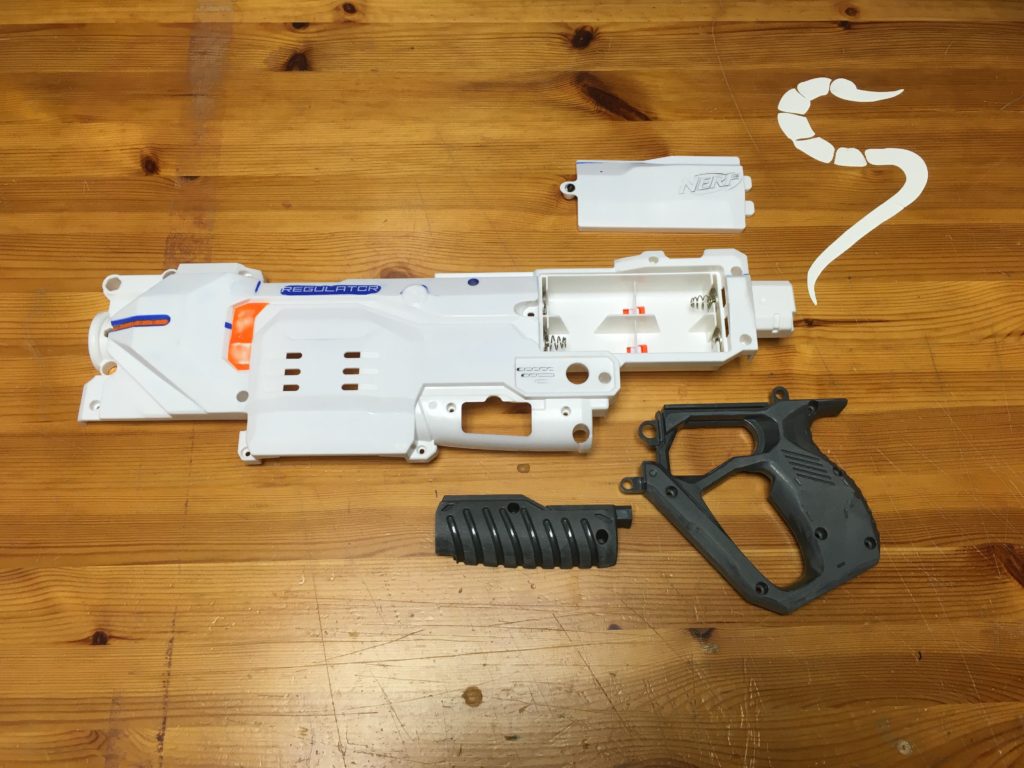
The project begins like any other. The blaster has to be disassembled, sanded down and cleaned. It makes no difference what kind of paint job you have in mind. Whether worn or brand new. [Here you will soon find the links to the blog articles „Sanding and cleaning“. Just check back in a few weeks].
After that the blaster gets primed and painted in the first base color. From here on the preparations are the same no matter what the final result is supposed to be. [Here you will soon find the links to the blog articles „Priming“ and „Painting“. Just check back in a few weeks time].

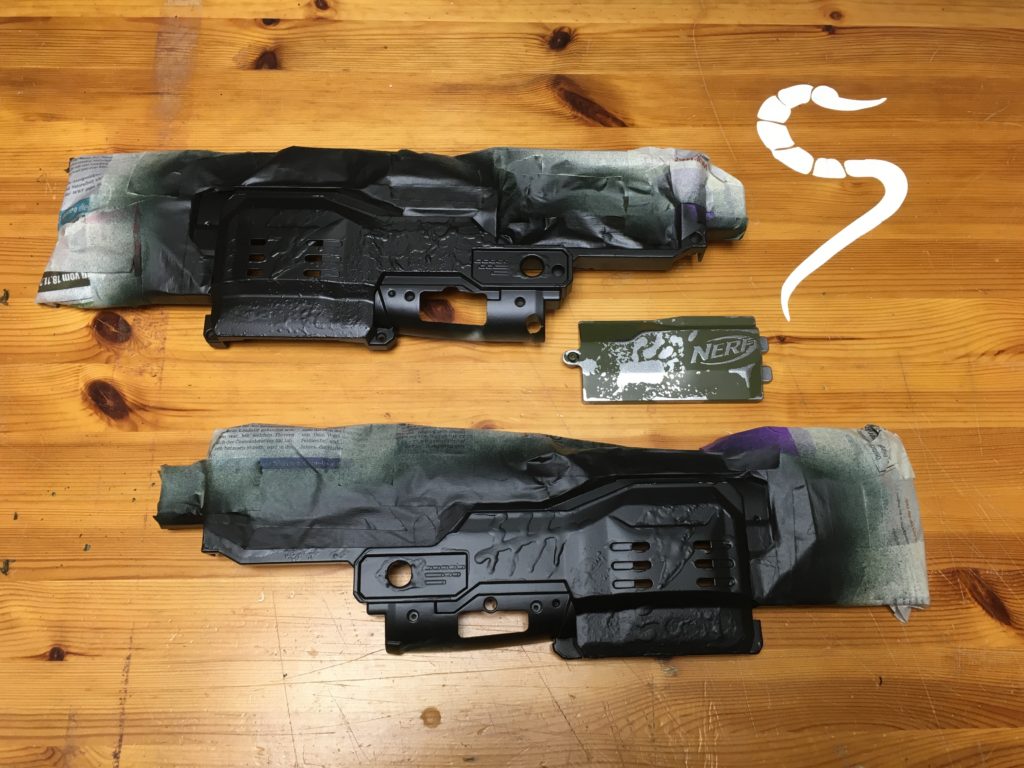
Next, the regulator is masked and painted in several layers. [Here you will soon find the link to the blog article „Masking“. Just check back in a few weeks time].
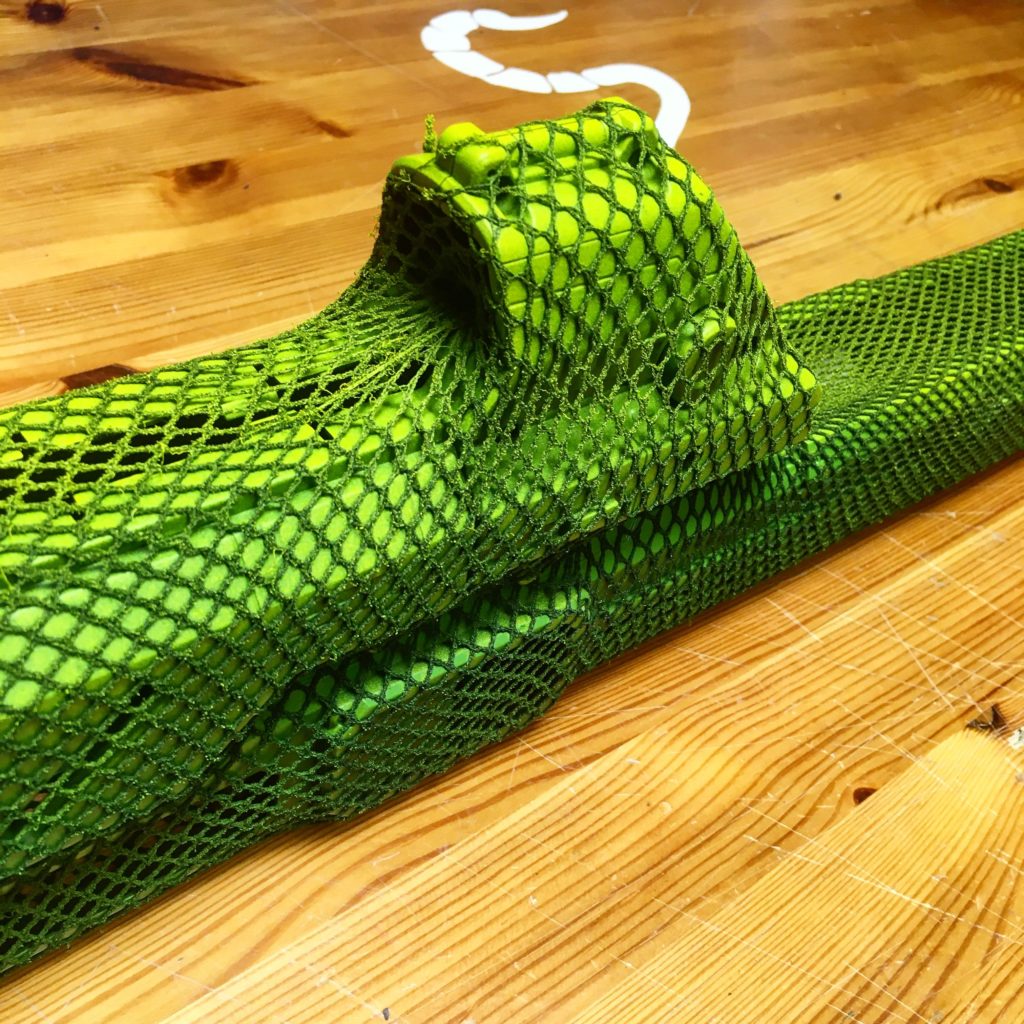
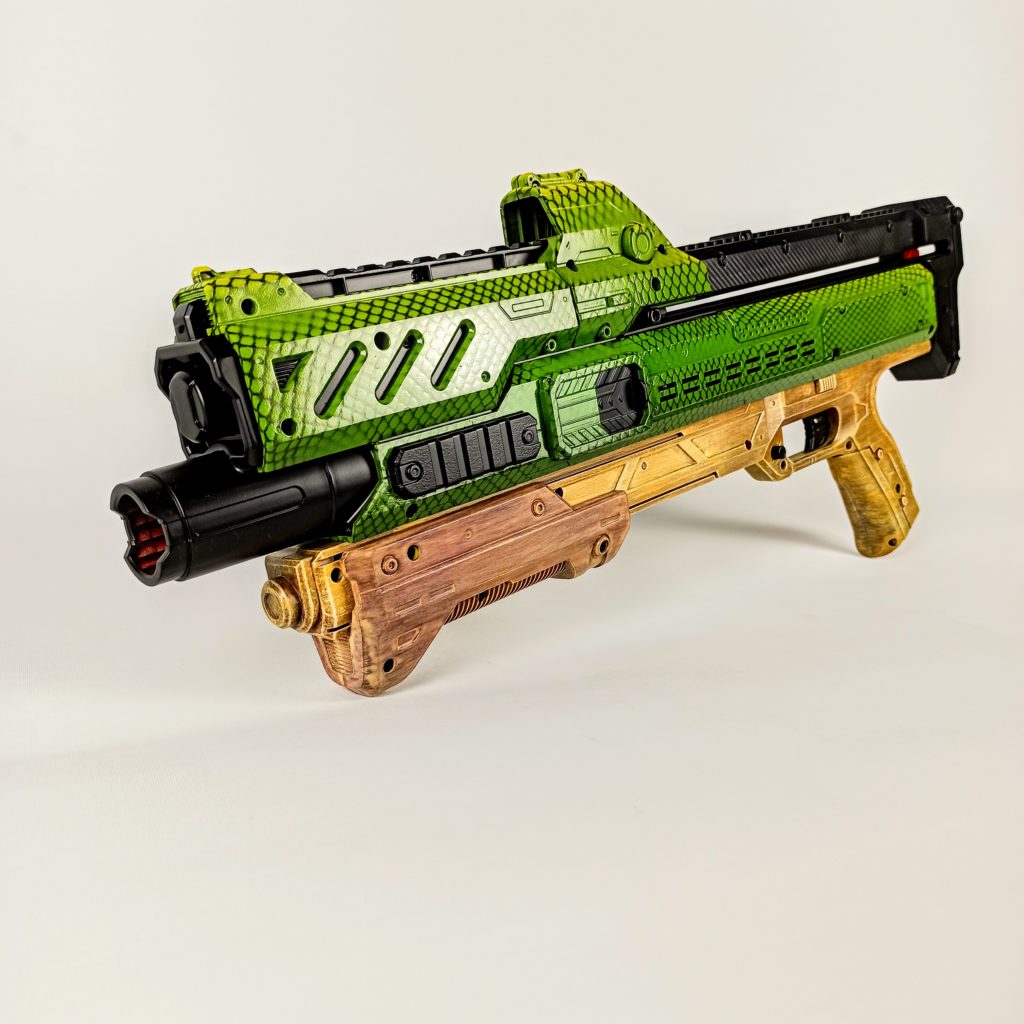
The Orbit will not be treated with masking agent, because the color should not be damaged in this case. Instead, I applied an „effect masking“ here. After priming with dark green, parts of the blaster are covered with fishnet tights. This procedure creates a pattern resembling snakeskin. Furthermore the lower part is painted in wood optics. [Here you will soon find the link to the blog articles „Painting with fishnet stockings“ and „Wood painting“. Just check back in a few weeks time].
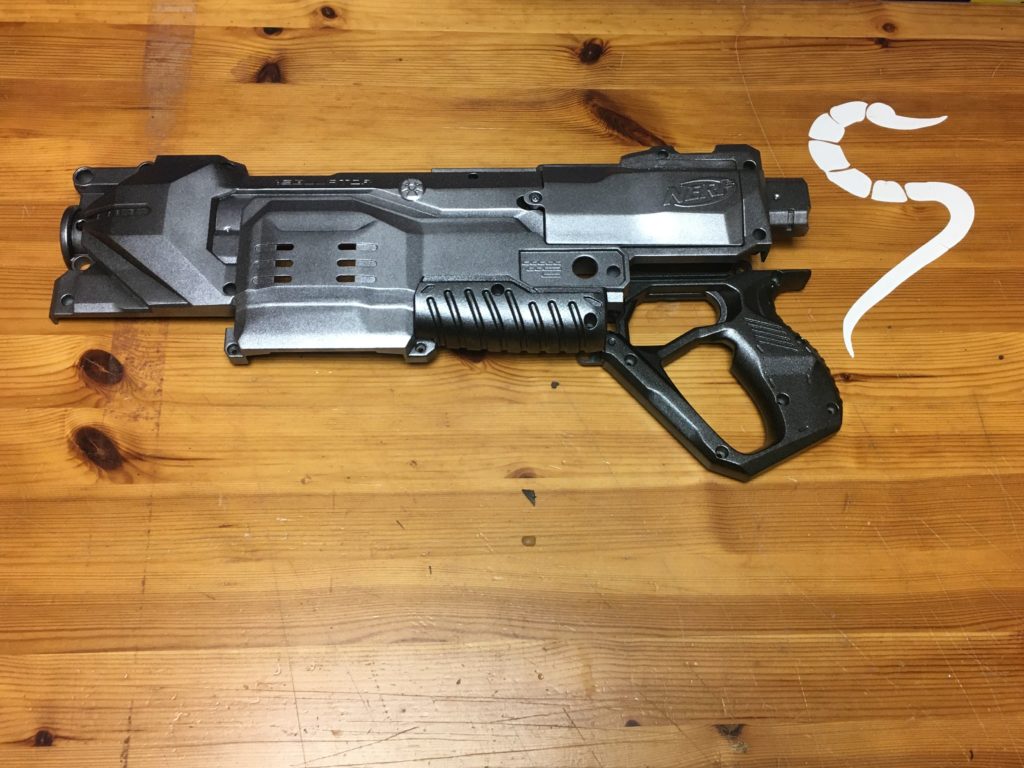
Once everything is painted, all the masks come off again. Now you see for the first time how the blaster will look at the end.
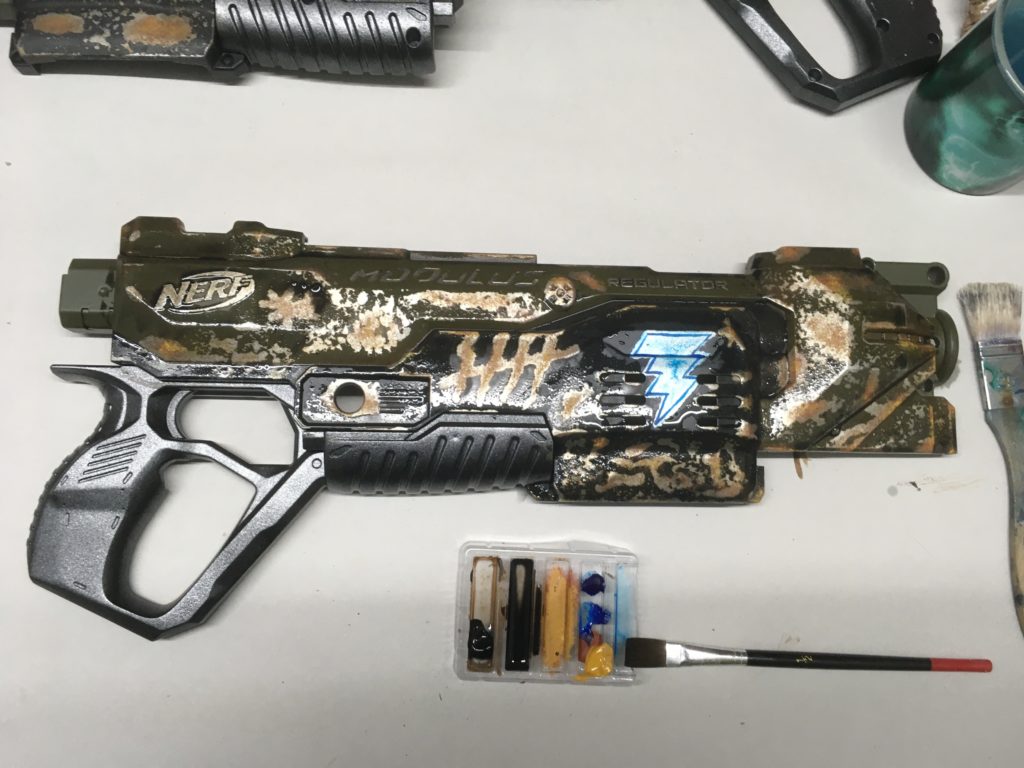
Next come the details for the Regulator and, according to taste, wear and tear. In this case they were already provided by the masking. [Here you will soon find the links to the blog articles „Dry brushing“, „Painting rust“ and „Weathering“. Just check back in a few weeks].
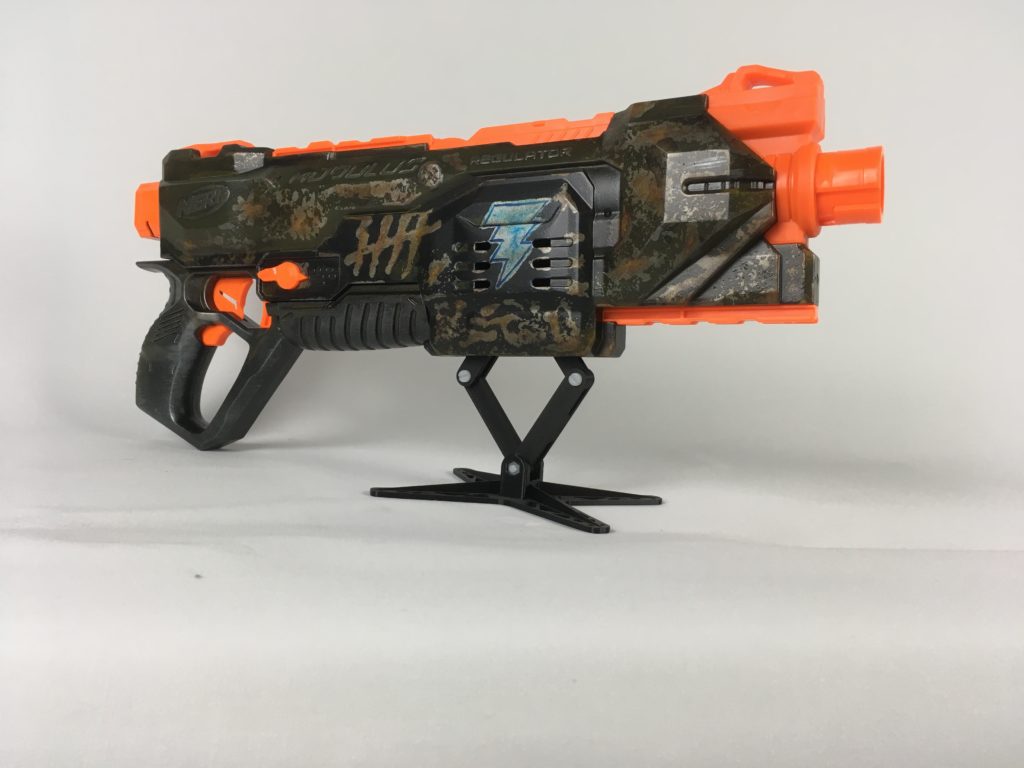
Afterwards just seal it with clear coat and mount it. Done is the Blaster. [Here you will soon find the link to the blog article „Clear coat“. Just check back in a few weeks].
I hope these instructions and tips will help you paint the blaster of your dreams and I would be delighted if you show us your results and progress! Always remember, it’s all about the practice and everybody has to start somewhere! How about an X-Shot – Chaos Orbit to start with?
Author: SirScorp


comments
There is one comment to "How to paint a blaster":
Nice! But I would like to know how to paint on moving parts (which had most contact between parts, e.g. barrel attachment points, clips/magazines, etc). I will look forward to updates on this topic!